How to remove the Gemini sparkle logo from an AI image, and what to expect
2026-10-16 · 5 min read
Some images made with Google Gemini carry a small four-point sparkle in the bottom-right corner. If you deliver the picture to a client, put it in a presentation or use it on a website, that mark is often unwanted. This guide explains what removing it involves, what the result honestly looks like, and where it can go wrong.
The pictures on this page are demo pictures we made for this website (no real people, no client work). We added a sparkle of the same shape and size as the Gemini one and ran the real Image Cleaner on them. Real photos differ, so always look at the result before you deliver it.
Why cropping is not a good answer
The sparkle sits near the edge, so many people crop it away. That changes the size and the composition of the picture and does not work for a fixed format such as a banner or a print size. A better way is to rebuild the small area under the mark so the picture keeps its full size.
What Image Cleaner does, step by step
- Finds the sparkle. It looks in the bottom-right corner for the shape. The sparkle can be small or large, solid or see-through, so the search is done at several sizes. If no sparkle is found, the pixels are left as they are (the hidden file data is still removed).
- Marks the area. It covers the sparkle and a thin edge around it.
- Fills it in. An AI inpainting model (LaMa) paints what should be under the mark, based on the pixels around it.
- Matches the grain. Camera and AI pictures have fine noise. The filled area gets the same noise, so it does not look smoother than the rest.
- Saves a clean file. The picture is rebuilt from its pixels, so the hidden file data (metadata) is gone too. See what image metadata is.
A simple scene
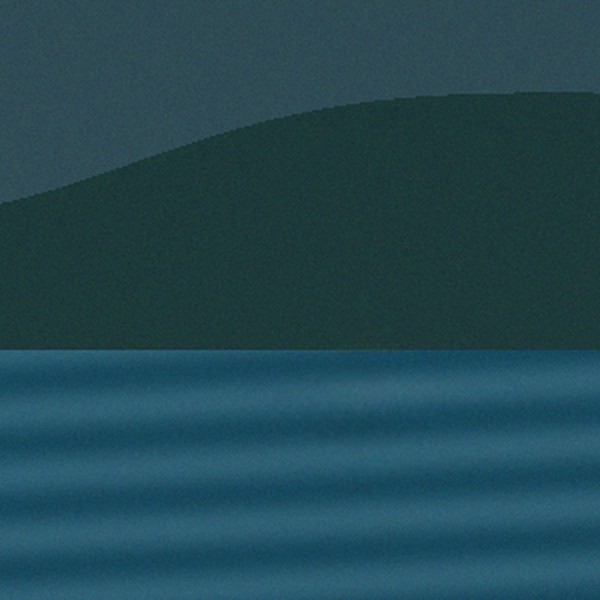
On a smooth background such as sky, water or a plain wall the result is usually very good. Below is the bottom-right corner of the same demo picture, enlarged. Left: with the sparkle. Right: after cleaning.

A harder scene
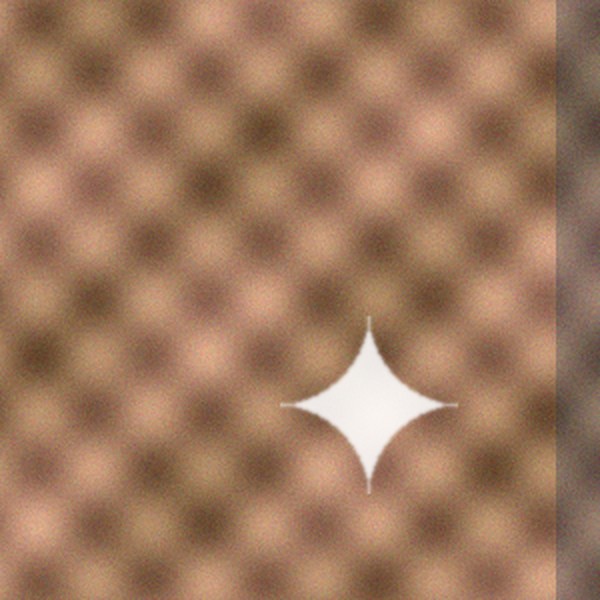
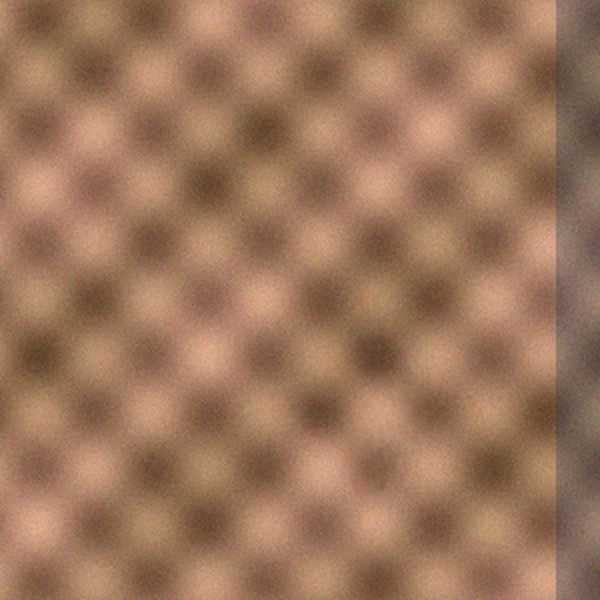
A busy pattern is harder because the model has to continue a repeating texture. It usually does well, but this is where you should look closely.
How close is it to the real picture?
We made these demo pictures ourselves, so we can compare the cleaned corner with what was really there before we added the sparkle. This is the honest test: the cleaned result is a good guess, not the original.

On a real Gemini picture there is no “original without the mark” to compare with, so the cleaned area is always a reconstruction. For most uses it is not visible. For a print or a close crop, check it at 100 percent.
Tips for a better result
- Use the original file from Gemini, not a screenshot or a re-saved copy. Compression makes the edge of the sparkle harder to find and the fill harder to match.
- Open the result at full size and look at the bottom-right corner before you send it.
- Keep your original file. The cleaned picture is a new file.
- If a corner looks wrong, try again with a different export of the same picture.
What removing the sparkle does not do
- It does not remove SynthID, the invisible watermark inside the picture. Read what SynthID is.
- It does not hide that the image is AI-generated. If your client or audience expects to know, tell them. See the disclosure checklist.
More guides
- How to remove EXIF and GPS data from photos (Windows, Mac, iPhone and online)
- What is image metadata? EXIF, XMP, IPTC and content credentials explained
- Using AI images for client work: a simple disclosure checklist
- What is SynthID? An honest explanation of Google's invisible AI watermark
- Instagram's “AI info” label explained: why it appears and how to handle it honestly
- Posting AI images on Instagram: a clean-file checklist